Trezor.io/Start – A Complete Beginner’s Guide to Setting Up Your Trezor Wallet
Welcome to this fully refreshed guide crafted to help beginners and intermediate crypto users master the Trezor.io/start setup process. This updated layout delivers a clean, modern reading experience while keeping the content thorough, practical, and easy to follow.
Think of setting up a Trezor wallet like preparing a high-security vault for your digital wealth. With the correct steps followed through Trezor.io/start, your crypto assets gain layered protection that keeps them safe from malware, phishing attacks, and unauthorized access.
1. What Exactly Is Trezor.io/Start?
Trezor.io/start is the official onboarding portal offered by Trezor for setting up hardware wallets such as Trezor Model One and Trezor Model T. This page helps users download Trezor Suite, install firmware, initialize a new wallet, and secure private keys.
More than just a link, it’s a complete security foundation. Every step from firmware verification to recovery seed creation is designed to protect your crypto from hackers, keyloggers, SIM-swap attacks, and exchange failures. Unlike software wallets, a Trezor stores your keys offline using a secure chip, adding a vital layer of cold-wallet protection.
2. Before You Begin – Prepare Your Essentials
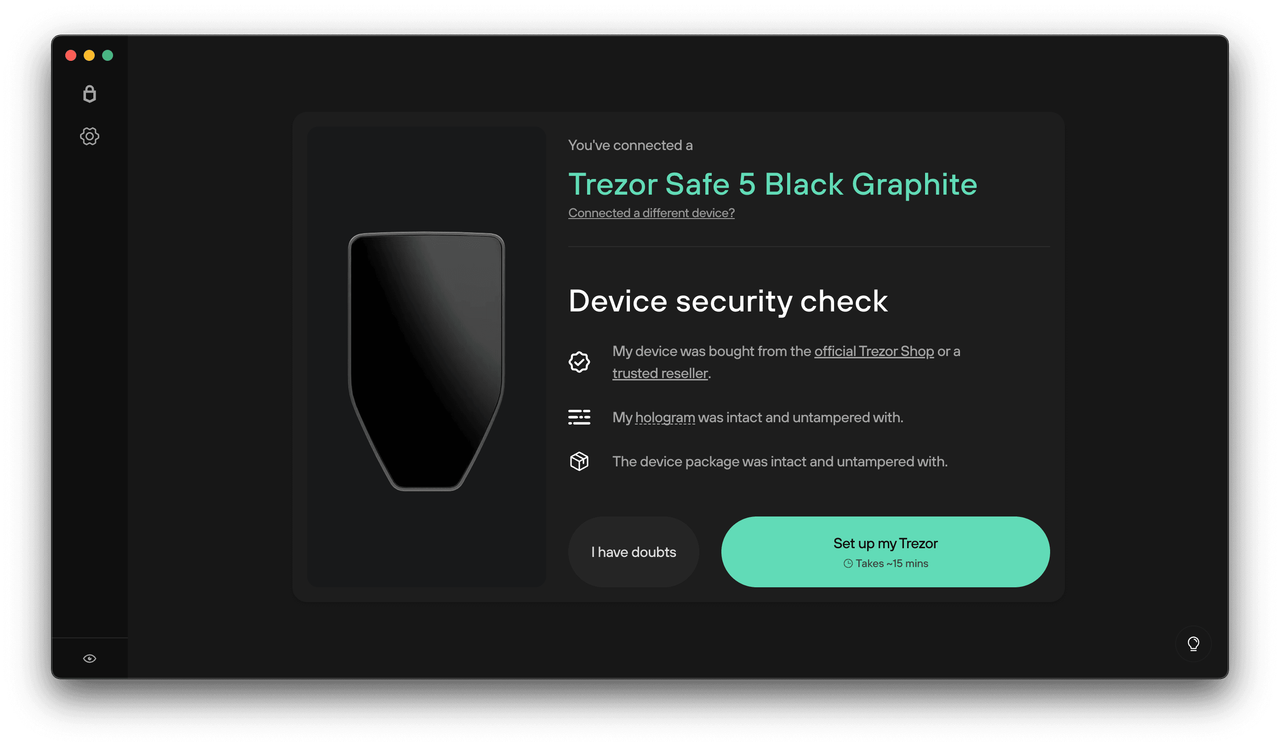
- Your Trezor hardware wallet (Model One or Model T)
- A reliable USB cable
- A computer with Windows, macOS, or Linux
- A secure internet connection
- Paper & pen for writing down your recovery seed
Make sure your environment is safe. Avoid public Wi-Fi, suspicious software, or unknown USB devices. A hardware wallet is only as strong as the environment used during setup.
3. Step-by-Step Setup Guide Using Trezor.io/Start
Step 1 — Connect Your Device
Plug your Trezor wallet into your computer. If this is your first time, the device screen will prompt you to visit Trezor.io/start to begin initialization and download the Trezor Suite application.
Step 2 — Download & Install Trezor Suite
Trezor Suite is the control center for your crypto management. It enables you to send, receive, and store coins securely while communicating with your hardware wallet. Installation typically takes less than a minute.
Step 3 — Install Firmware
New devices ship without firmware for security reasons. Trezor Suite will install the official firmware and verify authenticity. Never download firmware from unofficial sources.
Step 4 — Create Your New Wallet
Choose “Create New Wallet.” Your Trezor will generate your cryptographic keys inside the secure hardware module. Even your computer never sees your private keys.
Step 5 — Backup Your Recovery Seed
The recovery seed is the heart of your crypto identity. Write every word by hand on paper. Never screenshot, photograph, or store it online. Losing this seed means losing access permanently.
Step 6 — Add a PIN
Your PIN acts as local protection. Trezor's randomized input grid prevents malware from guessing it visually on your screen. Choose something secure yet memorable.
Step 7 — Start Using Your Wallet
Once setup is complete, load coins, create accounts (Bitcoin, Ethereum, ERC-20 tokens), and begin managing your portfolio inside Trezor Suite.
4. Trezor Suite — The Control Center of Your Crypto
Trezor Suite brings clarity to the often-confusing world of cryptocurrency. With a sleek interface and strong privacy features, it helps you monitor markets, manage accounts, and execute transactions securely. It includes real-time portfolio tracking, coin exchange tools, and coin labeling.
Suite operates offline when needed and integrates Tor for privacy-focused browsing. It supports popular networks like Bitcoin, Ethereum, Litecoin, and countless ERC-20 tokens.
5. Why Use a Hardware Wallet Instead of a Hot Wallet?
6. Common Crypto Terms You’ll Encounter
- Cold Wallet: Offline crypto storage device like Trezor.
- Recovery Seed: Master key to all your accounts.
- Blockchain Network: Distributed ledger technology powering cryptocurrencies.
- Private Key: Secret key used to sign transactions.
- Exchange Wallet: Wallet provided by trading platforms (not fully secure).
7. Frequently Asked Questions (FAQ)
Is Trezor.io/start safe to use?
Yes — it is the official setup page for all Trezor devices.
Do I need internet to initialize Trezor?
You need internet for firmware installation but your private keys never touch the online environment.
Can I recover my wallet without a recovery seed?
No. The seed is mandatory for recovery. Store it securely.
Does Trezor support Ethereum and ERC-20 tokens?
Absolutely — thousands of ERC-20 tokens are supported through Trezor Suite.
Can Trezor be hacked?
Not remotely. The only risk is physical access combined with a user mistake like sharing a recovery seed.
Final Thoughts — Master Your Crypto Security With Trezor.io/Start
Trezor.io/start stands as the official, safest, and simplest pathway to begin using your Trezor hardware wallet. Whether you're securing Bitcoin, Ethereum, stablecoins, or long-term investments, this setup flow ensures you gain full control of your private keys. The modern digital landscape demands strong protection, and Trezor provides that through verifiable firmware, secure offline key storage, and a seamless suite interface.
If you’re serious about preserving your crypto wealth, starting with a cold wallet is the smartest step — and Trezor.io/start makes that journey streamlined, intuitive, and secure from the very first click.